Learning Objectives:
- What is LaTeX? Why LaTeX?
- What is TikZ?
- Installation of LaTeX
- Hello world
- Basic setup of TikZ
- Demand and Supply Diagram
What is LaTeX? Why LaTeX?
LaTeX is a markup language to write documents. In a common word processor, we have what you see is what you get (WYSIWYG). Howver, in LaTeX, What you see is what you mean (WYSIWYM). This manes that
- No need to bother with formatting, LaTeX will do it for you
- Easy to include math/graphics/tables
Therefore, it becomes a standard for academic publishing.
What is TikZ?
TikZ is the package in LaTeX that allows drawing of nice diagram. See the following exmaple:
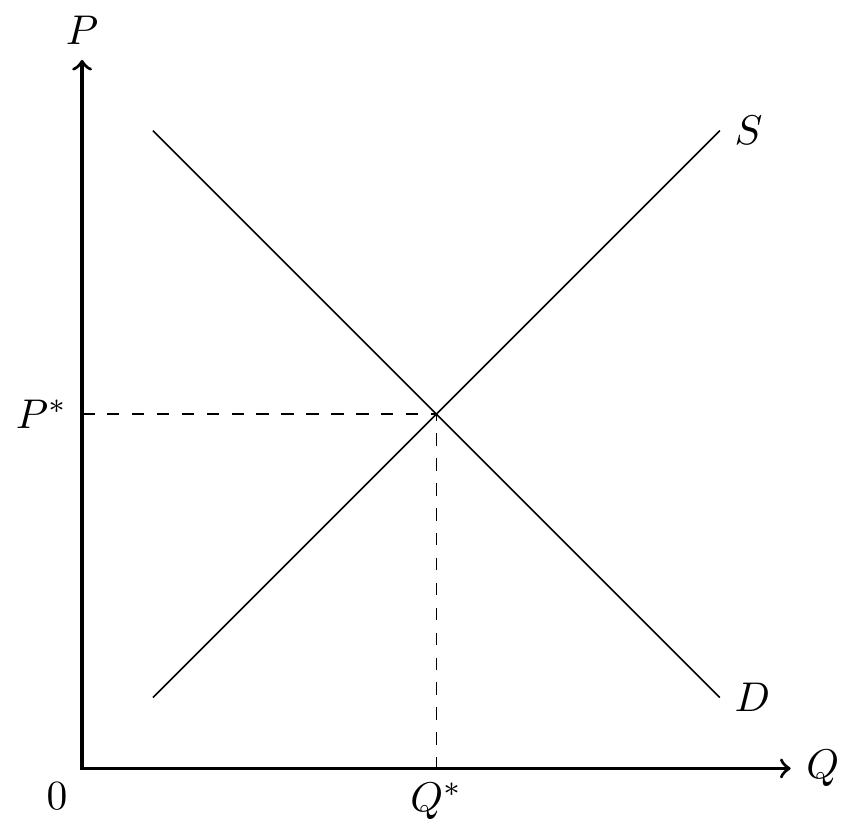
Demand and Supply
How to generate this graphic? By the following code:
\begin{tikzpicture}[scale=0.6]
\draw [thick,<->] (0,10) node[above]{$P$}--(0,0)--(10,0) node[right]{$Q$};
\node [below left] at (0,0) {$0$};
\node [below] at (5,0) {$Q^*$};
\node [left] at (0,5) {$P^*$};
\draw (1,1)--(9,9) node[right]{$S$};
\draw (1,9)--(9,1) node[right]{$D$};
\draw[dashed] (0,5)--(5,5)--(5,0);
\end{tikzpicture}
Installation of LaTeX
Which software to install depends on your operation system:
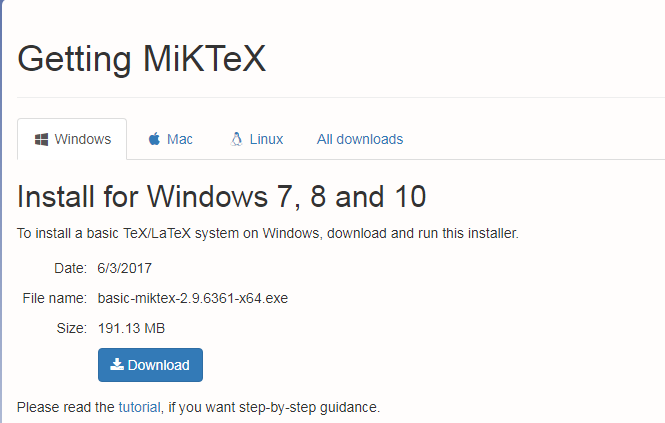
- If you use windows system, you need to install MikTeX.
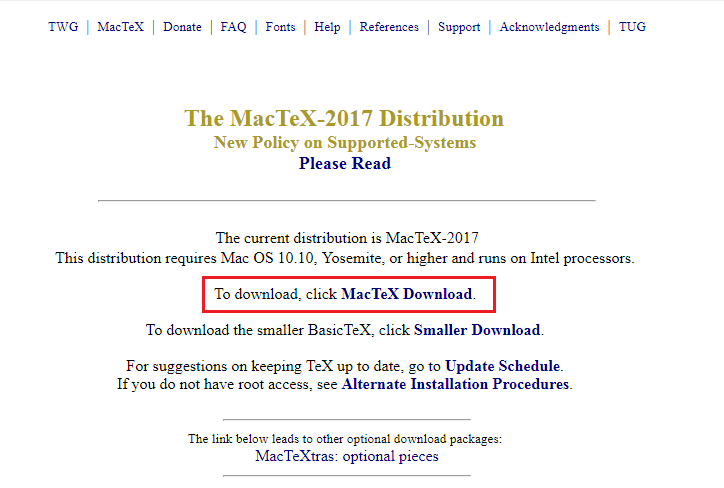
- If you use mac system, you need to install MacTeX.
Windows
For Windows, go to MikTeX. You will then see the following at the top of the page.

Clicking the download button will then bring you to this page.
Download MiKTeX, then install and open TexWork. You are then ready to use LaTeX on your Windows computer.
Mac
For Mac users, head to MacTeX. Click on the download MacTex button, as shown below.
LaTeX
Hello World
Since we are producing a document, we start to tell the program so by using the command \documentclass{article}. Then we need to tell which section should be included in the output file by using \begin{document} and \end{document}.
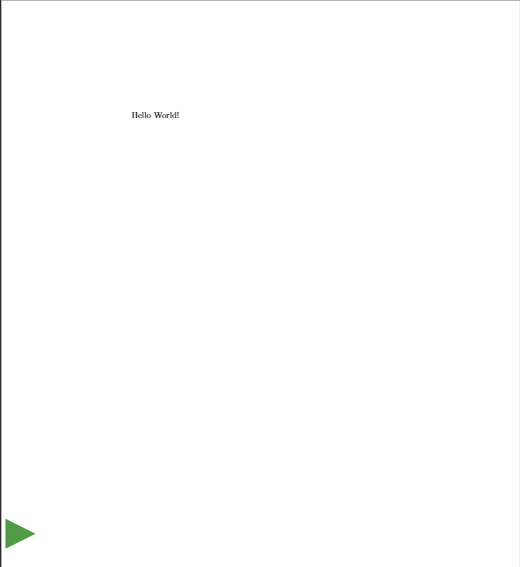
Finally, type the words “Hello World!” between the \begin{document} and \end{document}. Whatever text, pictures, or tables is included in between the 2 commands will appear on the document itself, and you can see this on the right-hand side.
\documentclass{article}
\begin{document}
Hello World!
\end{document}
If you compile the file, you should get the following pdf output:
TikZ
Loading Package
To load the TikZ package, we just need to use the function \usepackage{tikz}
\documentclass{article}
\usepacakage{tikz}
\begin{document}
Hello World!
\end{document}
Then start the drawing environment that begins with \begin{tikzpicture} and ends with \end{tikzpicture}.
\documentclass{article}
\usepacakage{tikz}
\begin{document}
\begin{tikzpicture}
...TikZ codes to put here...
\end{tikzpicture}
\end{document}
To draw a straight line, use \draw, and specify the coordinates. Remember ending the each line of code by semicolon.
\documentclass{article}
\usepacakage{tikz}
\begin{document}
\begin{tikzpicture}
  \draw(0,0)--(6,6);
\end{tikzpicture}
\end{document}
To add description, we use \node and specifiy the coodinates after at.
\documentclass{article}
\usepacakage{tikz}
\begin{document}
\begin{tikzpicture}
  \draw(0,0)--(6,6);
  \node at (2,5) {Hello, this is $\alpha$};
\end{tikzpicture}
\end{document}
Then we can draw the demand and supply diagram above:
\documentclass{article}
\usepacakage{tikz}
\begin{document}
\begin{tikzpicture}
  \draw [thick,<->] (0,10) --(0,0)--(10,0);
  \node [above] at (0,10) {$P$};
  \node [right] at (10,0) {$Q$};
  \node [below left] at (0,0) {$0$};
  \draw (1,1)--(9,9);
  \node [right] at (9,9) {$S$}
  \draw (1,9)--(9,1);
  \node [right] at (9,9) {$D$};
  \draw [dashed] (0,5)--(5,5)--(5,0);
  \node [below] at (5,0) {$Q^*$};
  \node [left] at (0,5) {$P^*$};
\end{tikzpicture}
\end{document}
Above we have used some decoration of the lines.
- Line pattern: For dashed line, use
\draw[dashed]. - Arrows: For arrows at the tips, use
\draw[<->]. - Thickness: For thicker line, use
\draw[thick].
To shift the location of the nodes, we use \node[location] where location can be below/left/right/above/below left.